Limestone
5 Steps to Restore Limestone Floors From Chips and Cracks
This info-graphic titled ‘5 steps to restore Limestone floors from chips and cracks’ provides us an overview of restoration of limestone buildings.
Published October 2026
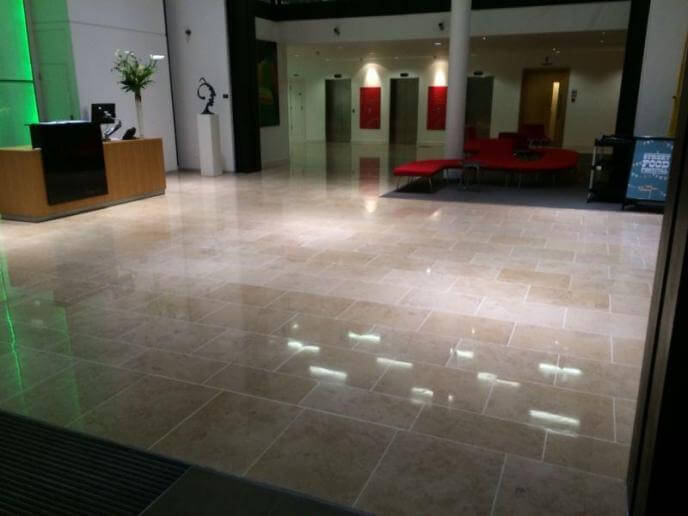
This Blog titled ‘5 steps to restore Limestone floors from chips and cracks’ provides us an overview of restoration of limestone buildings.
One hundred million to five hundred million years old, limestone is traced from fossil deposits of marine animals. It generally has a unvarying consistency and texture and is usually buff or off-white in color, but it can also be gray or very light in tone of color.
While durable, limestone can be damaged by age, neglect or extremely heavy use. Alkali stains can cause discoloration when alkali-charged wetness permeates the limestone from its back or bottom bed. Efflorescence can happen when moisture picks up traces of sodium, calcium, magnesium or iron sulphate from within the wall. This can cause the fabrication of a whitish bloom or powder on the stone’s surface, flaking and exfoliation.
In some cases, artists take tracing of remaining pieces of the actual stonework and transpose the designs to fit into missing sections of limestone. While in order to repair pits or tiny chips, special mortars and layers of sealants are applied and then sanded, and, perhaps, painted to blend with the surrounding stonework once the repair has set.
1. Preparing the Floor
Removing all furniture and other home furnishings will allow you to have an unobstructed view of the entire floor area, as well as prevent any damages that can be done to your valuable furniture.
2. Inspecting the Limestone Floor
Check the floor thoroughly to identify all cracks and dents and if there are many, mark them with masking tape.
3. Preparing the Area
To make the repair more effective, clean the surface of your limestone floor as well. Make sure that it is spotlessly clean and devoid of obstructions. Sweep up any dust and debris. For stubborn grimes use a damp rag and some elbow grease, and scrub the floor thoroughly. You can then wait for the floor to dry naturally, or if you’re in a hurry, or you can wipe it dry with a rag.
4. Repairing Minor Damages
For chips and cracks that are very shallow and minor, you can make use of a mild polish that you can purchase from the local hardware store. Rub the product gently over the crack or chip so that you can have a smoother surface.
5. Repairing Deeper Faults
If there are deeper cracks or chips on the limestone that cannot be corrected through the previous step, you can make use of epoxy resin that has been mixed until its color is the same as that of your limestone floor. Apply the compound on cracks and chips with a putty knife. For deeper damages, you can make use of chips or slivers of limestone.
Things to Remember While Restoration of Natural Stone
– Many economies have emerged from the global economic recession and the use of natural stone is re-surging, continuing the trend and desire for natural stone begun centuries ago. A costly mistake that many people make when they move into a new home or remodel a kitchen or bathroom is replacing dull, discolored and etched stone.
– The global natural stone market size was valued at $35,120.1 million in 2018, and is projected to reach $48,068.4 million by 2026, growing at a CAGR of 3.9% from 2019 to 2026. Natural stone is a mountain-acquired mineral, which includes quartzite, slate, limestone, sandstone, marble, granite, and others.
– Some examples of when you may need professional stone restoration include:
- Dullness and discoloration from years of built-up residue
- Etching
- Scratches, chips and seam repairs
- Removal and replacement of caulk and grout
- Soap scum removal
- Surface polishing
Sources
- https://www.doityourself.com/stry/how-to-repair-chips-and-cracks-in-limestone-floors
- https://www.seattletimes.com/sponsored/seven-tips-for-cleaning-natural-stone/
- https://www.naturalstoneinstitute.org/data/
This infographic is created by Poshfloors Ltd. Poshfloors limited has expertise in cleaning marble floors, terrazzo, trevertine, granite tiles.
There's plenty more to explore.
Browse all our latest articles and insights.